Brand:
CORIGY SOLARItem NO.:
FRM02Payment:
T/T, L/C, O/A, D/PProduct Origin:
CHINAShipping Port:
XIAMENLead Time:
Depends on project time or receipt timeSolar Panels Ballast Mounting System
PV module ballasted ground mount often incorporate adjustable tilt angles, allowing for customization to optimize the performance of the solar panels based on the geographical location and seasonal variations in sunlight. The adjustable tilt feature enables the panels to capture more sunlight during the winter months or less sunlight during the summer, depending on the desired energy production.


|
Install Site |
Flat Roof or Lower Profile Roof |
|
Tilt Angle |
10 Degrees |
|
Building Height |
20 m |
|
Max Wind Speed |
<60m/s |
|
Snow Load |
1.4KN/m2 |
|
Standard |
AS/NZS 1170 and Other International Standard |
|
Material |
High Class Aluminum Alloy Al6005-T5 & Stainless Steel 304 |
|
Anticorrosive |
Anodized Aluminum & Stainless Steel |
|
Color |
Natural and Customized |
|
Warranty |
Ten Year Warranty and Twenty Year's Service Life |


How do you secure solar panels to a flat roof?
Securing solar panels to a flat roof typically involves the use of mounting systems designed specifically for flat or low-slope roofs. One commonly used method is through the use of a ballasted racking system, although there are various other types of mounting systems available.
1. Roof Preparation: Clean the surface of the roof and make any necessary repairs before installing the mounting system. Ensure that the roof surface is flat and free from obstructions that might interfere with the mounting brackets.
2. Mounting System Selection: Choose a suitable dual tilt flat roof solar bracket system based on your specific requirements, such as panel size, weight, and desired tilt angles. There are various products available in the market with different features and installation methods.
3. Panel Installation: Once the mounting system is in place, proceed with installing the solar panels on the brackets. Attach the panels securely to the mounting rails or frames according to the manufacturer's instructions. Ensure proper spacing between panels and verify that all electrical connections are made correctly.

1. Fix the rear legs and front leg on the ballast rails
2. Place the ballast trays on the ballast rails. And place the concrete blocks on the ballast trays. FRM03 need to install the rail
3. Fix the panel on the rear legs and front legs with middle/end clamps
4. Install the other side for east-west design
5. Install the rail connectors on the ballast rails to connect with other arrays


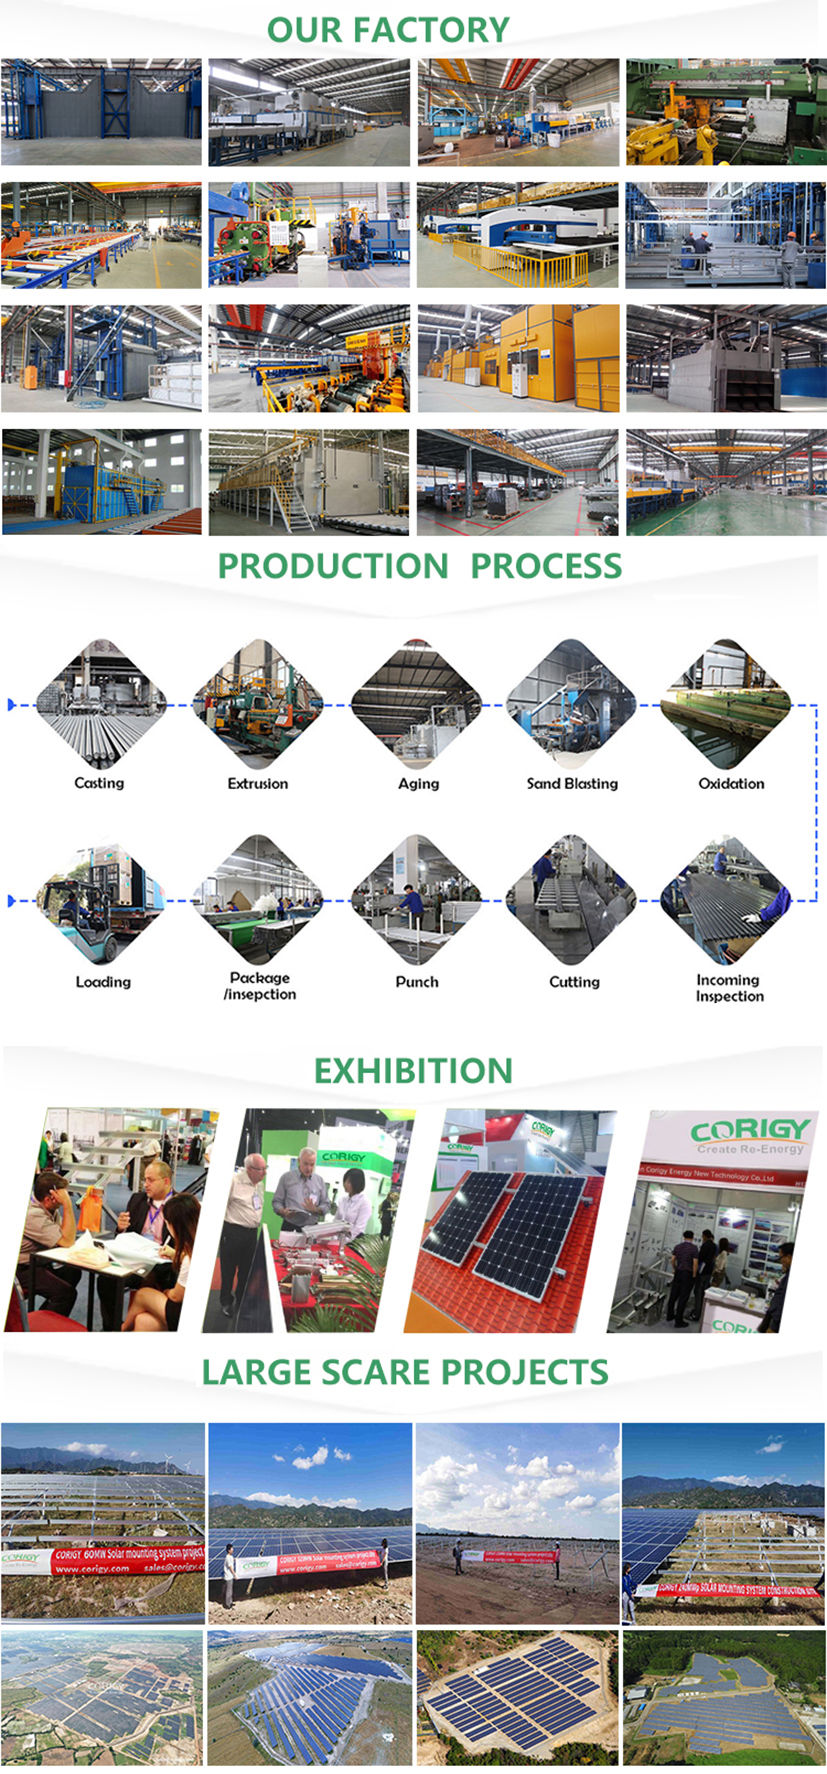
Corigy Solar has been focusing on manufacturing and design solar mounting bracket for more than 10 years. Corigy's products have been installed and used in more than 30 countries and regions, with a total installed capacity of more than 8GW. After the construction is completed, all projects are completed by the official acceptance team, and they are currently officially put into operation.
In
terms of selection, Corigy is based on the principle of highest
quality. The bracket uses high-quality main materials high-grade anode
aluminum Al6500-T5. The surface uses anode oxidation 12-15mic. Excellent
anti-corrosive rust and anti-rust performance ensures its 30-year
service life. At the same time, the characteristics of aluminum
lightweight reduces the weight of the roof and make it safe and
reliable. The maximum wind speed can carry 60m/s, and the snow load
capacity is 1.4kn/㎡.
All
bracket solutions of Corigy are calculated based on the live conditions
environment. Corigy's advanced technical team conducted a force
analysis of the structure of the building, combined with the layout of
the bracket and photovoltaic components to verify the various feasible
bracket installation solutions to determine the most efficient,
convenient, safe and reliable solution.


