Brand:
CORIGY SOLARItem NO.:
TRH37Product Origin:
CHINAColor:
SilverShipping Port:
XIAMENLead Time:
Depends on project time or receipt timeSolar tile roof hooks are specifically designed to securely fasten solar panels to roofs with tile shingles. They provide a strong and stable attachment point, ensuring that the panels will remain firmly in place even in high winds or extreme weather conditions

|
Product Name |
Stainless Steel Solar Panel Mounting Bracket Slate Roof Hook |
|
Mount Location |
Sloped Roof |
|
Mount Base |
Arched ceramic tile roof |
|
Mount Angle |
Parallel to the rooftop |
|
Wind Load |
60m/s |
|
Snow Load |
1.6KN/m2 |
|
Applicable Solar Panels |
Framed Panels & Frameless Panels |
|
Solar Panel Layout |
Horizontal Panel Installation & Vertical Panel Installation |
|
Design Standard |
AS/NZS 1170 , DIN 1055 ,JIS C8955 2017 |
|
Rack Material |
Al6005-T5 (Surface Anodic Oxidation) |
|
Fastener Material |
SUS304/SUS410 |
|
Mounting Accessories Material |
Al6005-T5 (Surface Anodic Oxidation) |
|
Column color |
Natural Silver or According to Customer |
|
Warranty Period |
10 years |
|
Service Life |
25 years |
|
Loading Port |
Xiamen Port,China |

First fix the fixing device on the corresponding tile roof,and then lock the track

How do you fasten solar panels to a roof?
To fasten solar panels to a roof, you typically follow these general steps:
1. Assess the roof: Determine if the roof is suitable for solar panel installation. The roof should have adequate structural strength to support the weight of the panels and be in a position to receive optimal sunlight throughout the day.
2. Choose the mounting system: Select a suitable mounting system based on your roof type (e.g., asphalt shingle, metal, tile). There are various types of mounting systems available, such as rail-based, ballasted, or adhesive systems.
3. Secure the panels: Once the rails are in place, position and align the solar panels on the rails. Secure each panel with clamps or brackets designed for your specific mounting system. Make sure to follow the manufacturer's instructions for the specific type of mounting system you have chosen.
4. Connect the panels: Connect the solar panels together using the provided wiring and connectors. Refer to the installation manual or consult a professional electrician for proper wiring procedures.
5. Ground the system: Install the necessary grounding components according to local electrical codes and manufacturer guidelines to ensure safety.


According to different roof shapes, choose the matching photovoltaic concrete tile roof hook


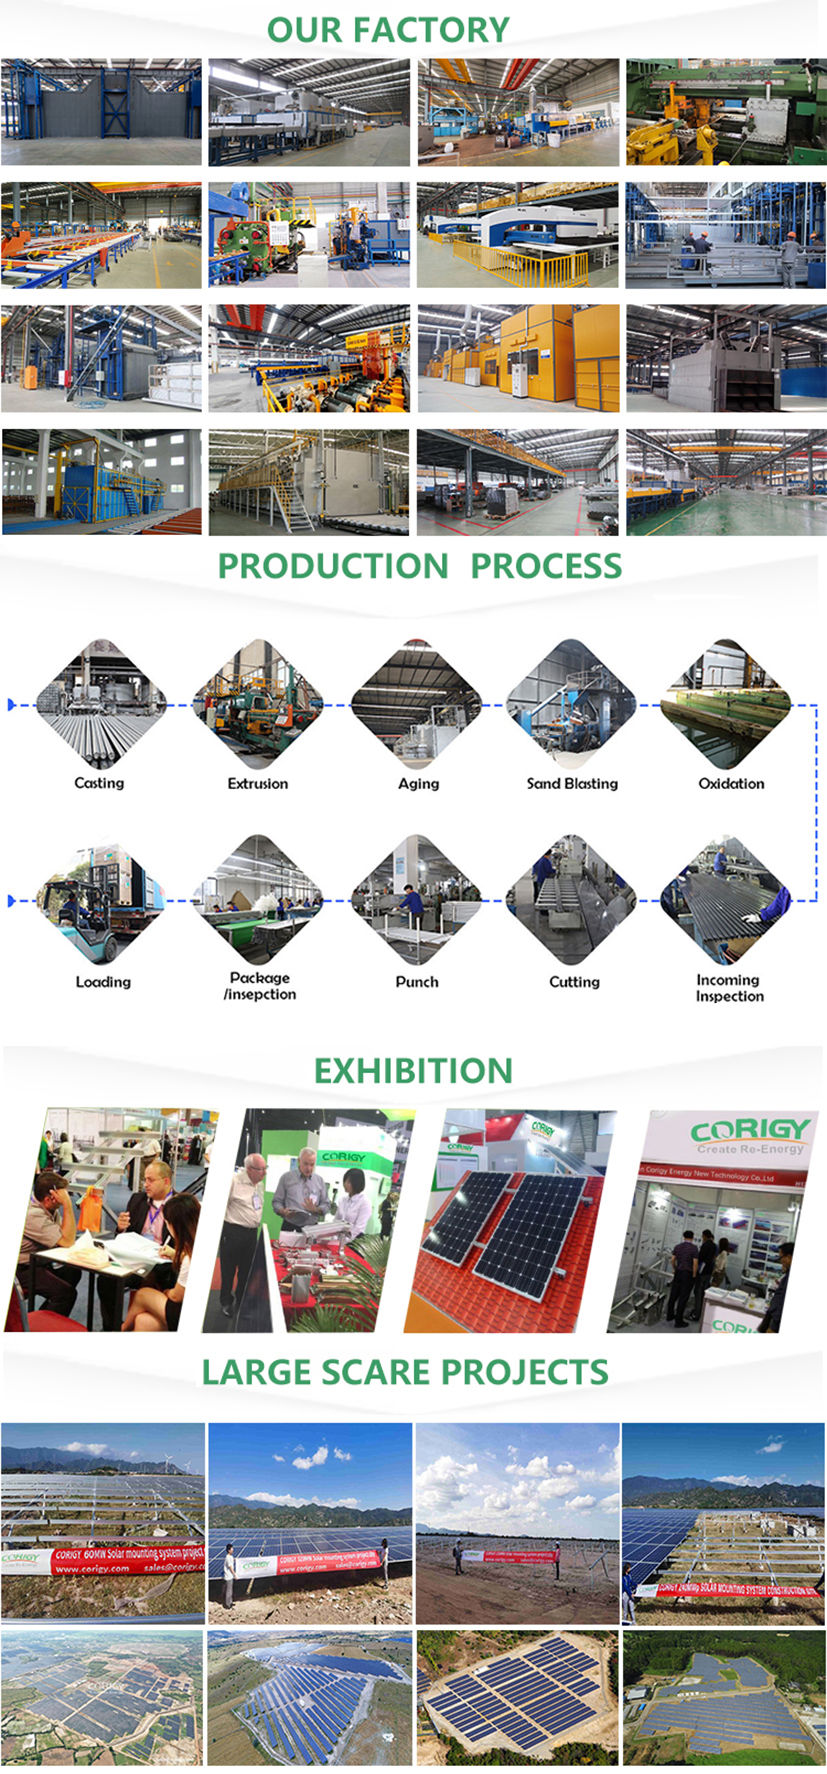
Corigy
Solar has been focusing on manufacturing and design solar mounting
bracket for more than 10 years. Corigy's products have been installed
and used in more than 30 countries and regions, with a total installed
capacity of more than 8GW. After the construction is completed, all
projects are completed by the official acceptance team, and they are
currently officially put into operation.
In
terms of selection, Corigy is based on the principle of highest
quality. The bracket uses high-quality main materials high-grade anode
aluminum Al6500-T5. The surface uses anode oxidation 12-15mic. Excellent
anti-corrosive rust and anti-rust performance ensures its 30-year
service life. At the same time, the characteristics of aluminum
lightweight reduces the weight of the roof and make it safe and
reliable. The maximum wind speed can carry 60m/s, and the snow load
capacity is 1.4kn/㎡.
All
bracket solutions of Corigy are calculated based on the live conditions
environment. Corigy's advanced technical team conducted a force
analysis of the structure of the building, combined with the layout of
the bracket and photovoltaic components to verify the various feasible
bracket installation solutions to determine the most efficient,
convenient, safe and reliable solution.


